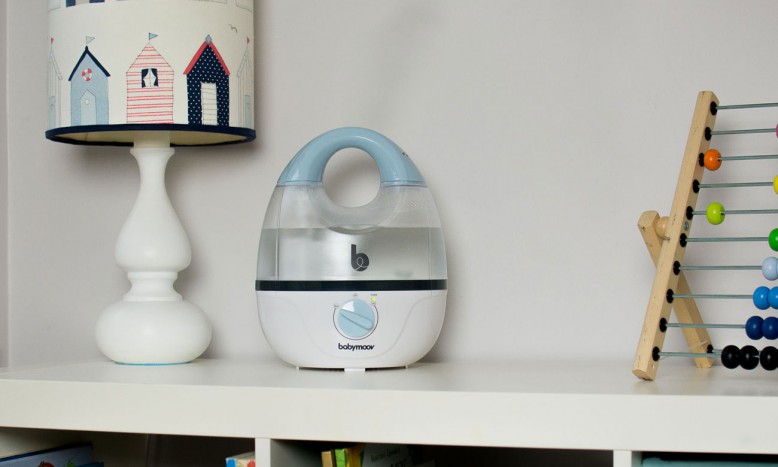
Un air très sec dans la chambre d'un bébé n'est pas sans conséquence sur sa santé : allergies, congestion nasale, problèmes respiratoires, assèchement de la muqueuse, peau sèche… Utiliser…
Plus de détails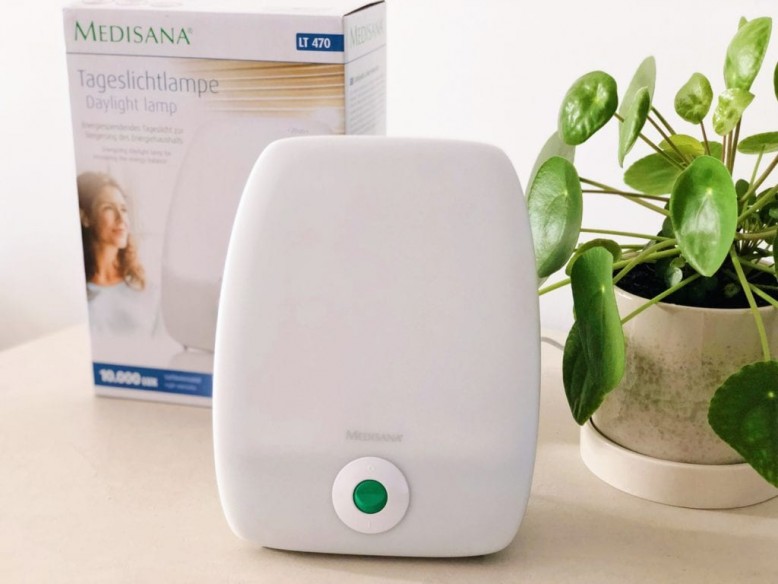
Ces derniers temps, j'ai décidé d'avoir recours à la luminothérapie pour éliminer toute éventualité de stress, de fatigue, de manque de sommeil, de baisse d'énergie, surtout en période…
Plus de détails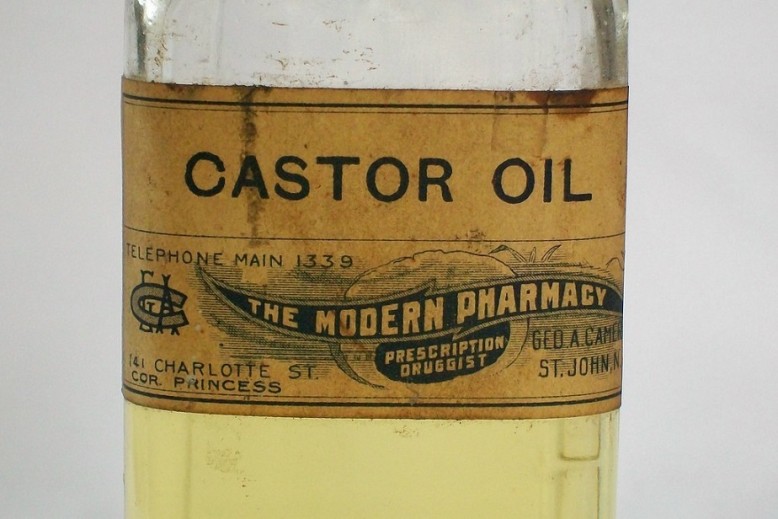
Prendre soin de ses cheveux est un véritable casse-tête pour vous ? Croyez-moi je suis passée par les mêmes difficultés que vous. J'avais des cheveux abîmés, ternes et secs à force d'utiliser…
Plus de détails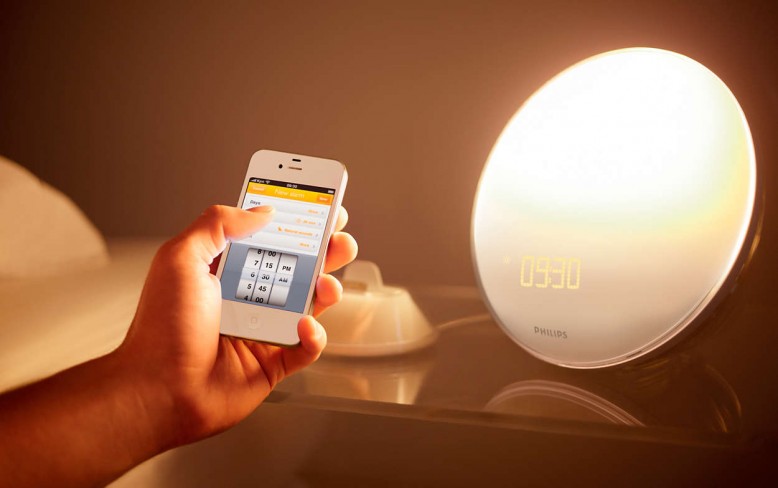
Pour vous aider à vous lever tout en douceur, il peut être intéressant d'avoir au chevet un simulateur d'aube. Grâce à sa douce lumière, simulant celle de l'aube, cet appareil vous réveillera…
Plus de détails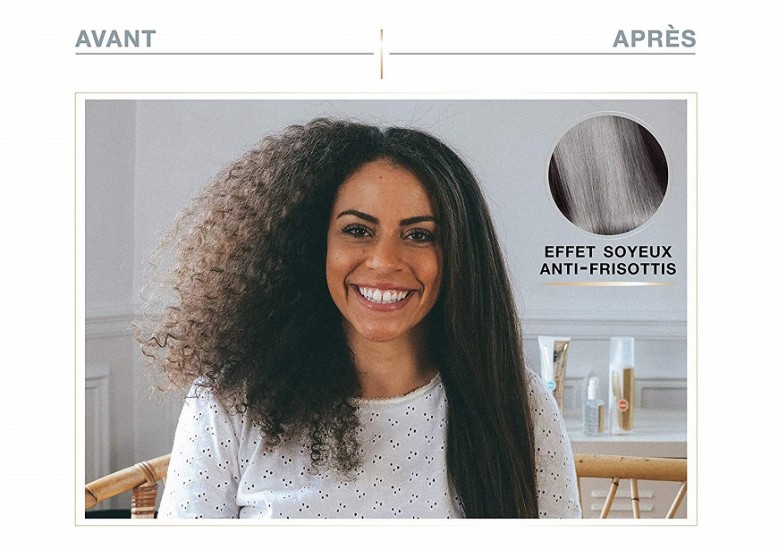
Qu'utilisez-vous comme fer à lisser ? Moi, j'ai un petit faible pour les modèles à vapeur. Je les trouve plus doux et moins agressifs. Le problème avec eux, c'est qu'ils sont parfois un…
Plus de détails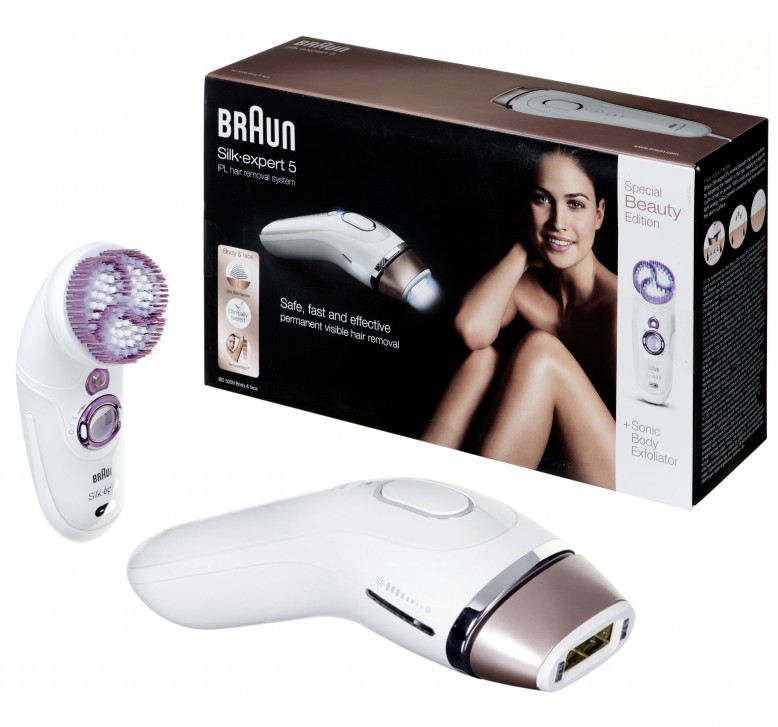
J'ai eu récemment l'occasion de tester un matériel d'épilation haut de gamme du fabricant Braun. Il s'agit du Silk Expert 5 qui n'est autre qu'un épilateur à lumière pulsée. Pour rappel,…
Plus de détails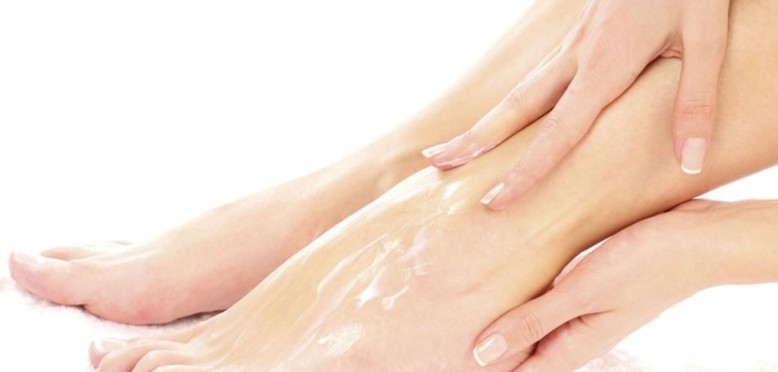
La beauté des pieds est un sujet sensible à ne pas négliger, en été comme en hiver. Il y a l'hydratation, la pédicure et le gommage. Ce dernier permet d'éliminer les cellules mortes accumulées…
Plus de détails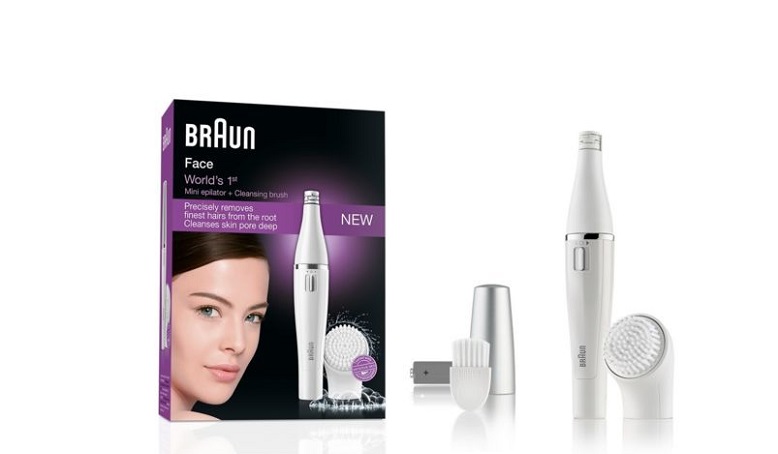
Réputée pour ses multiples appareils électriques de qualité, la célèbre enseigne Braun compte parmi ses produits des brosses de nettoyage pour le visage. Dans cet article, je tiens à vous…
Plus de détails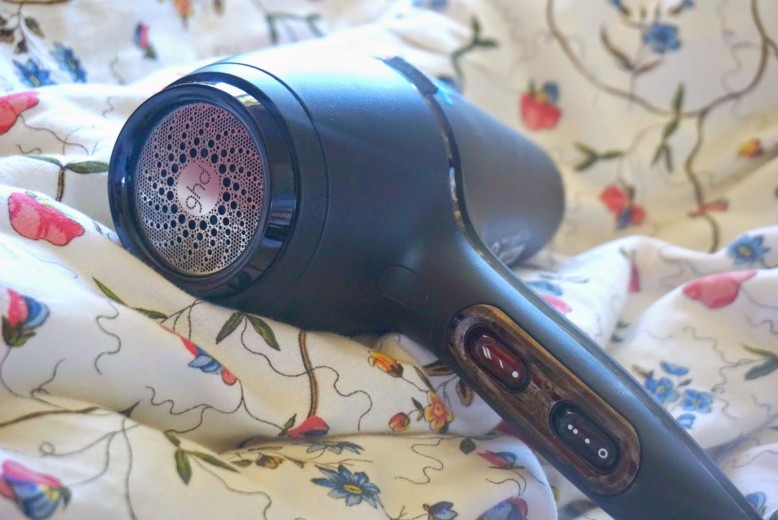
J'ai toujours rêvé d'avoir une magnifique chevelure sans avoir à aller chez le coiffeur tous les jours. J'ai essayé un grand nombre de sec- cheveux, jusqu'à tomber sur le sèche-cheveux…
Plus de détails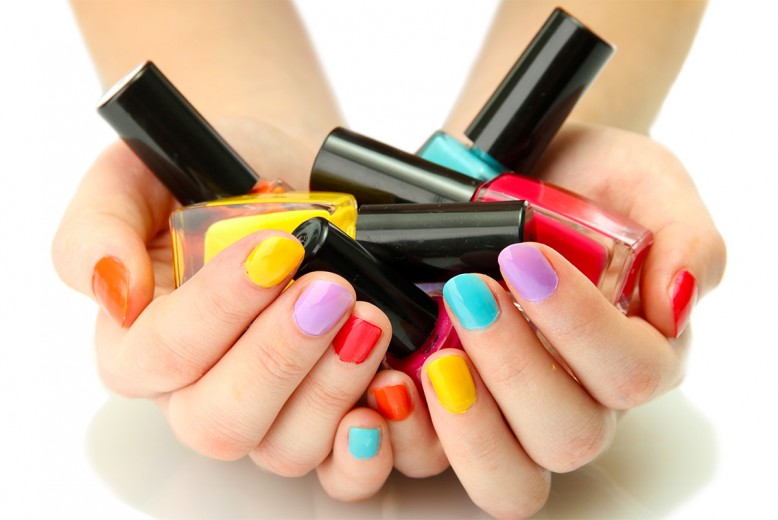
Arrivée en France depuis une petite dizaine d'années, c'est il y a plus de trente ans que la French manucure a envahi les salons de beauté américains. Pourquoi "French" ? Tout simplement…
Plus de détails
La rose, fleur merveilleuse et délicieuse, possède des vertus multiples tant dans le domaine de la cosmétique que celui de la gastronomie sans oublier les magnifiques roseraies ! Les roses…
Plus de détails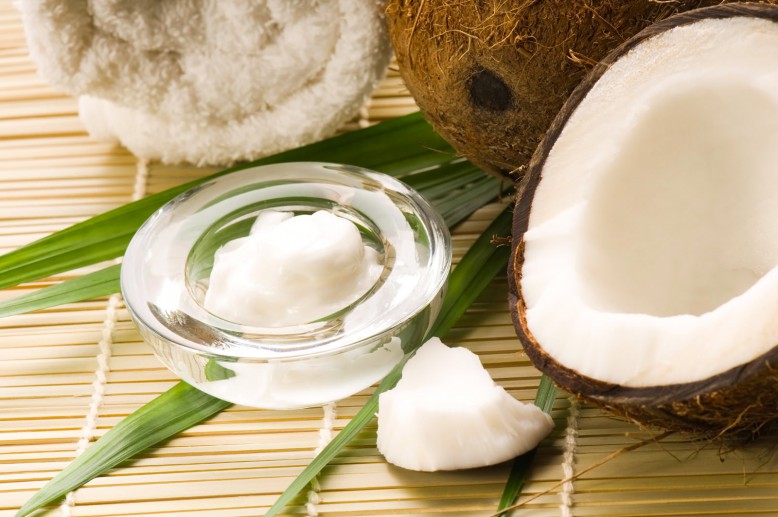
Bonjour à toutes et tous ! Comme promis, voici un retour un peu plus précis sur le petit nouveau depuis presque 3 semaines dans ma salle de bain et surtout dans ma routine belle peau hydratée…
Plus de détails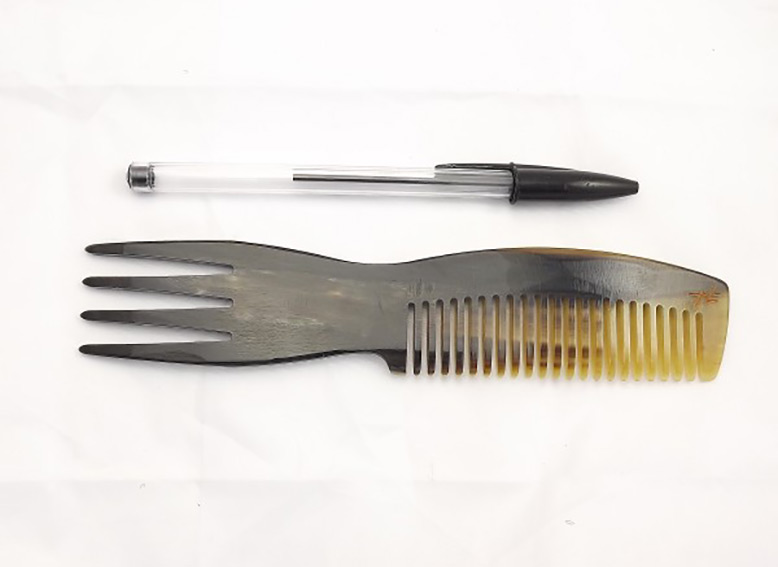
Pour bien se coiffer et prendre soin de ces cheveux, il est important de faire attention aux outils que l'on utilise. C'est d'ailleurs la première règle à retenir pour bien se coiffer,…
Plus de détails
Coucou et bienvenue sur mon blog. Je suis Coraline, une jeune sudiste qui a créé ce blog dans le but de partager ses découvertes, son univers et ses conseils. Ce carnet de bord est un passe-temps et j'aime parler de mode, déco, beauté, cuisine, santé etc. Je suis une grande amoureuse de la nature tout en étant adepte du mode de vie healthy que je prône dès que je peux. Je rédige sur mon temps libre et je suis ouverte à vos commentaires. Bonne visite !